Wednesday, November 26, 2014

Mini Bulletin Board for Father's Day


So we wanted to give dad something special for Father's Day but we were not sure what.  We decided to make something for his office.  I had these cork boards rolling around and thought it would be nice to make him a mini bulletin board of sorts.  


First we took the cork boards and we covered them with felt, we used a glue gun for that because the material is tricky and the glue gun pretty much works with everything.


Then we cut a huge heart and we pasted it on the board.  After that, each kid decided how they wanted to decorate it and they were free to do as they pleased.  We used pre-cut foams in all sots of shapes to give it the finishing touches.


In the end, it turned out nicely.   My husband is using it until this day (we did this craft 3 years ago).  By the way my kids were 5 and 3 and they both did a great job!  My 3 year old required minimum help - she is kind of crafty but still 3 is very little and she did a fantastic job!


This last picture is of the lard almost finished....I did not have a good picture of the board completely done and wanted to post this sooner than later.


After  finishing the gift, we decided to make him a nice card to go with it !


The kids had a blast and my husband felt special and very loved.  It did not make a huge mess, and it was easy clean up.  It definitely is worth it to plan ahead, and get some crafts done for special occasions!


I know Father's Day is not near, but I had this post as a draft and decided to publish it.  It has been a while since I last posted and a nice friend of mind reminded me that I have not posted in a long time.


Wednesday, October 15, 2014

Fall Possibilities


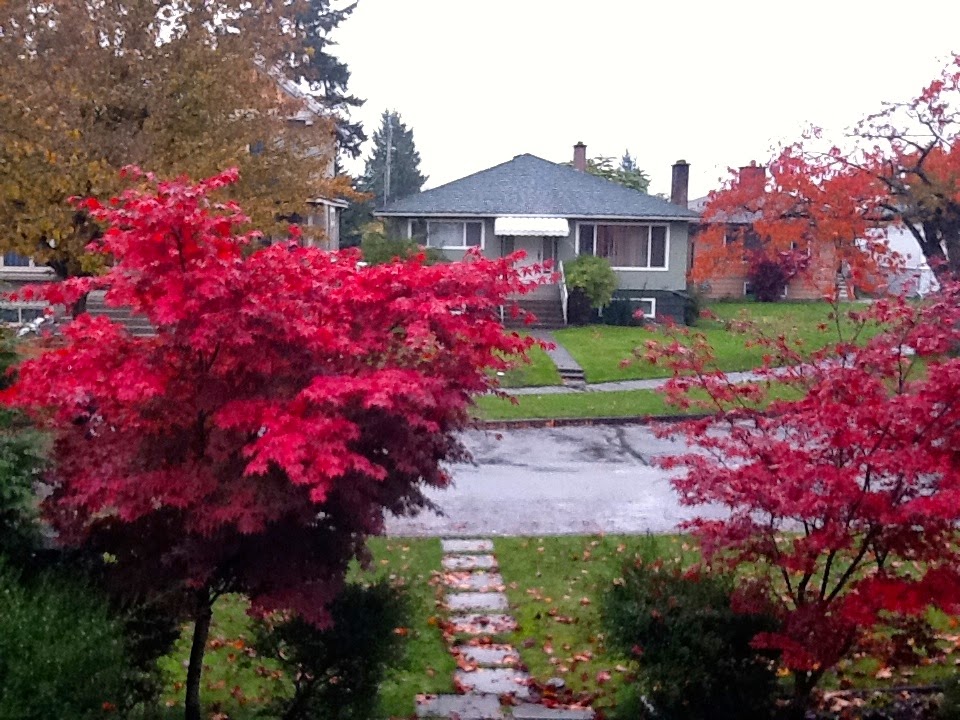
We live in Vancouver,BC.  Fall time here is one of the most beautiful times of the year.  From the moment we step outside, we get the gift of breathtaking beauty all around us!  It is almost impossible not to feel drawn to pick up some of the gorgeous leaves scattered around the green grass.  My kids find the best leaves and they always want to keep them...of course!


Well instead of the leaves laying around the house.  I figured that we could come up with a nice simple craft. The kids love arts and crafts and to spend some time making something beautiful after a nice autumn walk, while you sip on hot cocoa is simply the best.


The age ranges of the kids were 3-7 (the page above was done by my three year old, the one below by my 4 year old).  They all enjoyed it a lot, they all put a lot of effort, and they all loved the results!


I put different textures and materials so they could really get creative!  And creative they got!


Have fun and remember :  Homeschool, it will always be worth your effort!!

Tuesday, October 14, 2014

Mixing Art and Science in one great day!!


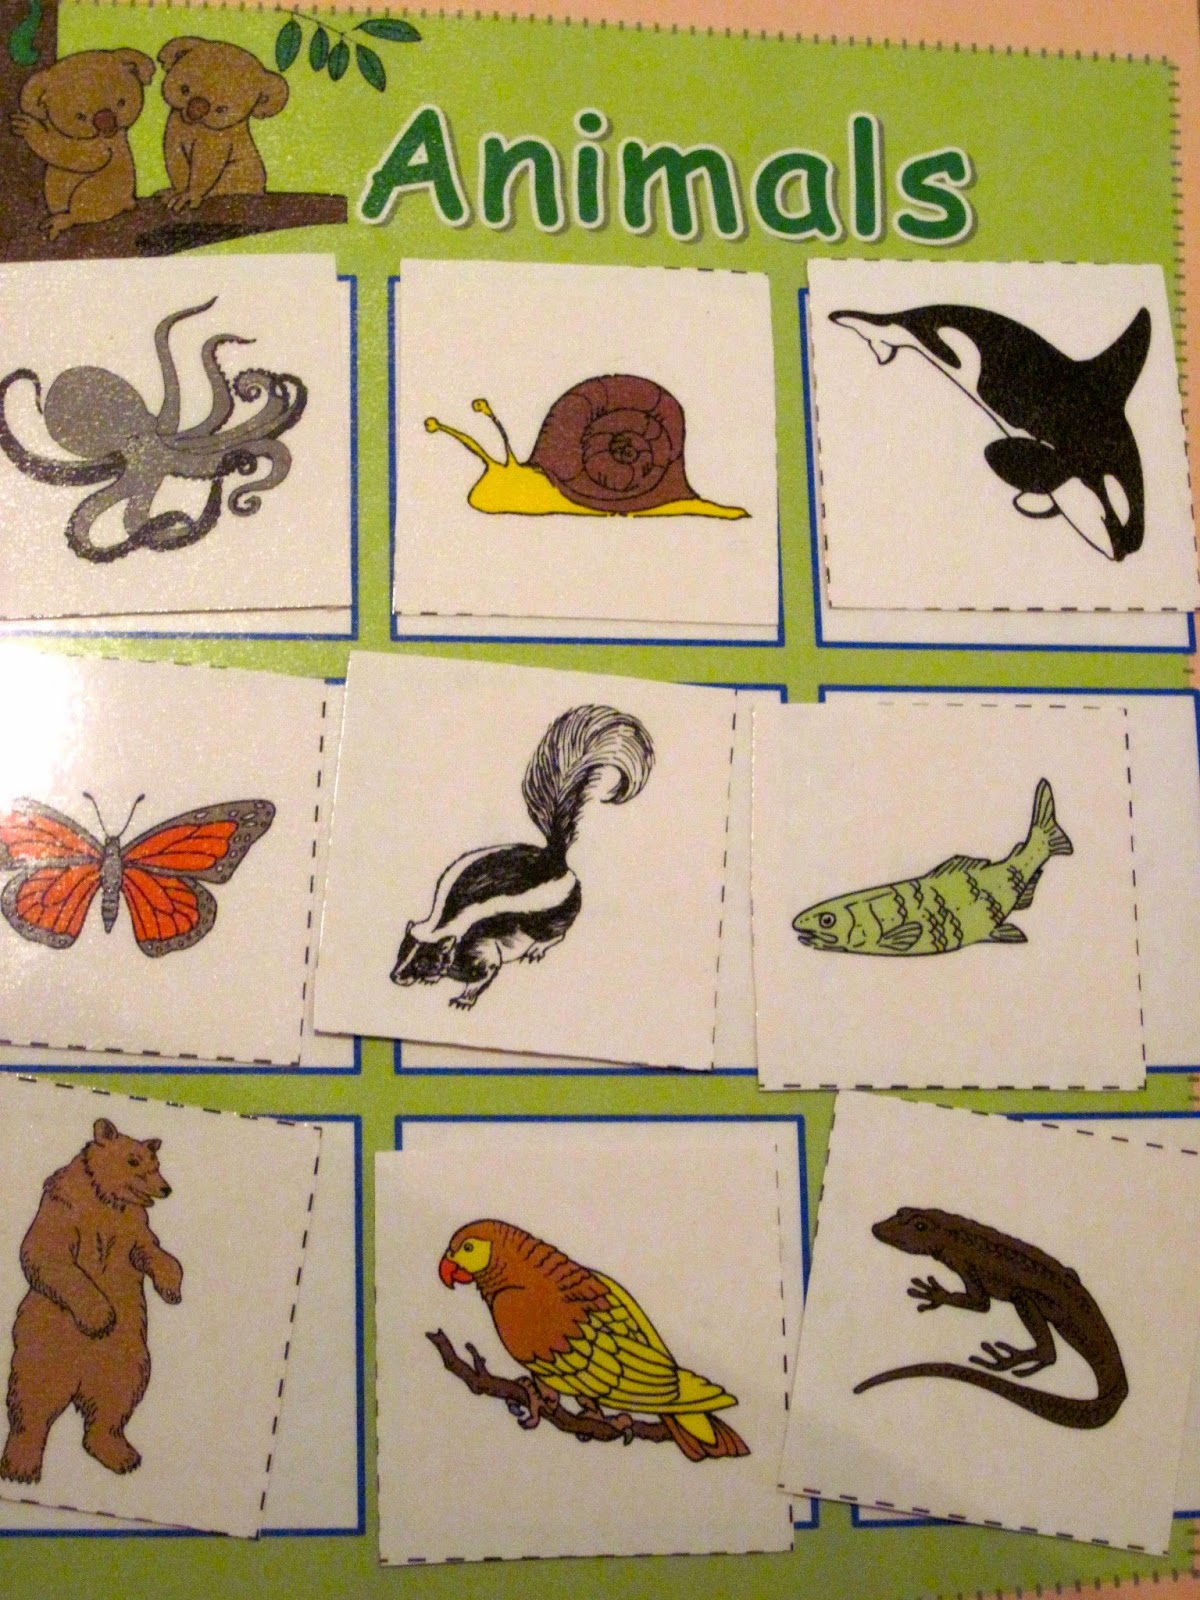
For K-1 I bought a neat little book that brings what they call Science Centers.  The book is made of many different lessons you prepare in advance.  You need to tear the pages, laminate, cut, and photocopy.  Then you need to make folders, it takes a lot of work but in the end it is more than worth it.


I pick one Science Center a week (more or less) and we try to combine it with a day out or a nice Art lesson.  


In this case we picked the Science Center that teaches the difference between plants and animals (in a very simple way).  The kids complete the exercise and then they go for a walk trying to pinpoint plants and animals in our neighbourhood.  


Then they get to do an art project by drawing and/or colouring their favourite plant or animal.


 The butterflies we decided to do with finger paints.  They had a blast !


The trees we decided to use the eraser at the end of a pencil and colour it using dots.  


 The result was very very nice as you can see !


Have fun and remember :  Homeschool, it will always be worth your effort!!

Monday, October 13, 2014

Crazy About Dinos part 2


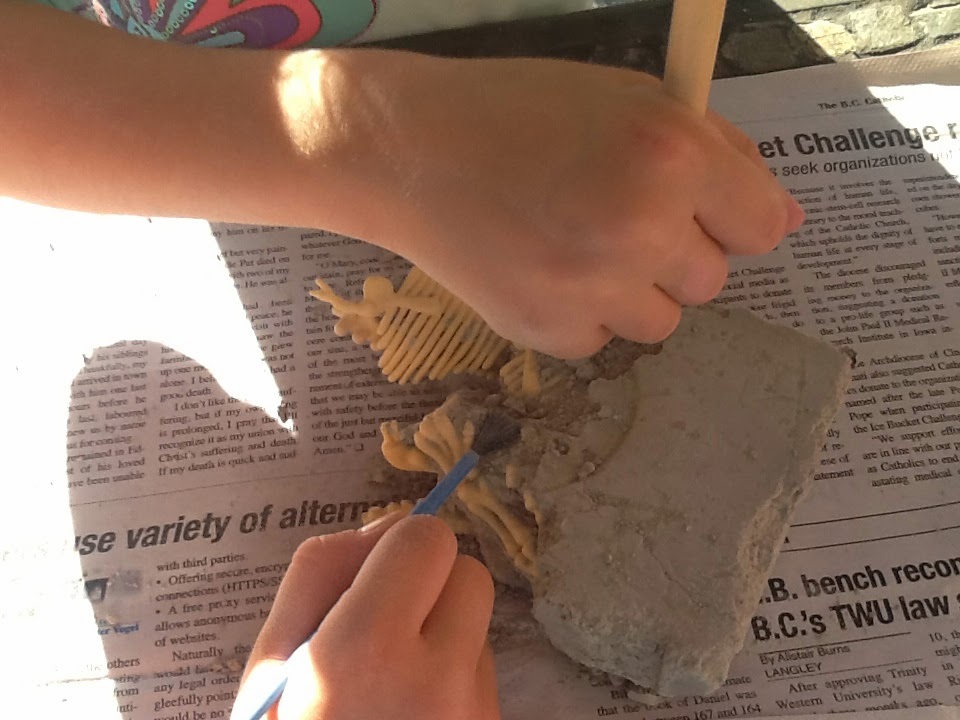
To complement our trip to the Dino Park, I decided to buy this amazing Smithsonian Science Project and do it with the kids.  I found it in Costco and I highly recommend it.  It is a package with three different Science projects for kids 8 and up.  But for example in this case we did the project with kids 4 - 8 and it worked out wonderfully!


The instructions are easy to follow and the project is fun and it's a great way to learn about what Archeologists do, and how Dinosaur bones are found.  It teaches them patience, and they get to appreciate the fact that some jobs require carefulness and precision.


The kids got to wear special goggles and they got to use special tools.  


Little by the little the imitation Dinosaur bones started appearing, every single one awakening their excitement and curiosity!


Each one took turns to use the different tools!


To have the opportunity to carefully dig out Dinosaur bones as if they were part of an Archeological excavation adventure was simply amazing!


At the end you have to gently wash the bones in warm soapy water and then you get to build your dinosaur !


 This project is definitively worth it and I would highly recommend it to anyone that wants to add a unit study on Dinosaurs to their Homeschooling Curriculum!


Have fun and remember :  Homeschool, it will always be worth your effort!!


Sunday, September 28, 2014

Don't be afraid plant away!


A great science project K -3 is to get gads dirty and plant away!  Don't get me wrong I am not the green thumb kind, it does not come easy to me!  But goodness was it worth it.  I went to the store, picked some seeds with my kids, got a few other things and decided to get started right in my kitchen!


My husband did not appreciate it so much.  But was he impressed when we got our first carrots!


No book, no exercise, no science center, no puzzle can compare to how much we learn about the life of a plant, the difference between living and non-living things, and the hard work of a farmer than by planting ourselves.  Appreciating the food on our tables starts by knowing how much work it took someone to grow it!  And in the end it is also a great way of learning patience and perseverance two great virtues!


Go on, get brave and get started!  I did and it payed of!


As the weeks go by, you can chose a day in which you can re-enforce what she is witnessing and learning with a nice science center exercise!


Have fun and remember :  Homeschool, it will always be worth your effort!!


Math with beans!


This is a nice way of practicing Math with manipulatives you can find right at home!


Nothing better that being able to really picture what it means to ad and subtract.  To see it, to touch it, to feel it!  Well here is another nice idea I found in Pinterest that worked for my Kindergardener.


 Get a bunch of beans


Get a muffin tray and muffin paper holders.  Put them in the muffin tray and write some simple addition and subtraction equations.  Let your kid take charge !


My girl loved it !  She was the one picking how many beans , placing them in the right spot and then counting totals.  It was a great afternoon!


Have fun and remember :  Homeschool, it will always be worth your effort!!


Sorting ! Oh what fun!


Sorting is part of Math for Pre-K and K and it can be loads of fun!  We chose an art project we found in Pinterest.  It was great fun and the kids really got into it.  I was able to do it with my five year old and my three year old together.  It was a time of collaboration and big sitter teaching the colours of the rainbow.  in the end this art project kills two birds with one stone....you get a math exercise and an art project all wrapped up in one cozy and fun afternoon!  Here are the pictures, I highly recommend it!


 Look around the house and find all sorts of colourful (use only colours of the rainbow), bright and fun things to use in your collage.  We used paperclips, ribbon, paper, foam shapes etc.  The girls had lots of fun sorting them into groups according to color.


The night before you want to make a nice rainbow out of construction paper.  This one is mine, not a work of art but good enough!


 Have the kids apply glue color by color and start pasting the different objects.  They can be as creative as they wish but they need to stay within a given color!


Voila !  Finished product is gorgeous, you can proudly display it in your living room to impress your friends and family LOL.  Well the girls were happy I thought it was good enough to go in the living room !!


At the end you can have a colouring sheet to reinforce the color order!


Have fun and remember :  Homeschool, it will always be worth your effort!!